DEMOS NC STUDIO DOWNLOADS PRODUCTS
GCode Sentinel NC Studio app icon NC Studio

CAM is solved.

CAM for your CNC is now as easy as slicing an .stl for your 3D printer — and as of v1.0.3 it literally takes the .stl. NC Studio is the easiest way to get an NC file out of a .STEP or .STL: open the model, keep the tools you own active in your library, and one Auto-generate builds the program — then a single button imports it straight into your GCode Sentinel setup, loaded at the zero and ready. Already have .nc from another CAM suite? Those run in GCode Sentinel too. Free in the macOS beta now.

THE SUITE

Two halves of one suite.

The platform is two native macOS apps that hand off to each other in both directions. NC Studio is the generator — it authors the program from your model. GCode Sentinel — already marketed here as the platform, an advanced AI-infused CNC platform designed around machine vision — is the controller that runs the machine. Studio makes it; the controller cuts it. And because Studio vendors the controller's Toolpath parser verbatim and shares its coordinate doctrine, the program Studio writes is byte-for-byte the program the controller streams, and the preview is driven by that very same parser — not an approximation of the job, but the job itself: preview == removal-sim == the streamed program. When the setup is done, click Import and the program loads onto the controller at the setup zero, selected and ready; the controller carries the reciprocal NC Studio button back the other way — one click there opens Studio. Both halves install together from the same DMG.

GCode Sentinel + NC Studio — the two halves, open side by side SIM
The GCode Sentinel controller with NC Studio open on top — the controller's gold NC Studio launch button highlighted, and NC Studio showing a generated toolpath ready to hand off
HOW IT WORKS

.STEP or .STL in.
Ready-to-run G-code out.

Four moves from a CAD model to a program waiting at the setup zero.

01 — Import a 3D model

Drop in a .STEP — or a .STL, which converts to a solid automatically — and Studio auto-derives the setup. The model is read Z-up with the origin at the top-centre of the part (0,0,0); stock defaults to the part plus an XY margin, so the exterior gets cut away clean.

02 — Auto-generate

One button. Studio builds a full 3-axis job from your own tools: the largest active flat endmill roughs by Z-levels, a smaller one rest-machines the corners it couldn't reach, walls and flats get finished, and an active ball nose 3D-finishes every curved or sloped surface. One self-contained .nc per tool — and a two-sided part generates its flip program too.

03 — Preview the cut

See it before metal moves. Three synchronized 3D views — the model, the toolpath, and a cut-result removal simulation — all driven by the controller's own parser, so preview equals removal-sim equals the program that will stream.

04 — Send to the controller

Export grblHAL G-code, or click Import for a true one-click hand-off — the program loads straight onto the controller at the setup zero, selected and ready. First cuts should always be air- or foam-validated before any real stock.

WHAT IT DOES

A CAM engine that knows
what the controller wants.

Built native in SwiftUI, sharing the controller's parser and doctrine — so the program is clean, gouge-free, and exactly what the machine receives.

3-view removal-sim preview

Preview every job across three views — the model, the toolpath, and a cut-result removal simulation — so you watch the part emerge from the stock before any chips fly. Studio shares the controller's parser and doctrine, so preview == removal-sim == the streamed program: what you see is what the machine receives, not an approximation.

Your tools, your feeds

Tools are .gcstool JSON packages — sellable, shareable, each with feeds stored inside the tool and a per-tool active flag. The default kit is two flat endmills: a 1/4" (Ø6.35) rougher and a 1/8" (Ø3.175) finisher. Auto-gen always roughs with the largest active tool and builds the program around the tools you actually own.

grbl-clean & 100% native Mac

Output is grblHAL-clean — header G21/G90/M3 S, footer M5/G0 X0Y0, and no G28/G30/G53/M6. Each tool gets its own self-contained .nc — you change tools between files (or let the controller's guided tool-change steps run them in one cycle); no in-file pauses. A native Mac app — one half of a platform that hands off in both directions.

Two-sided work, indexed

Author indexing cuts — pockets that go clean through the stock and carry their actual toolpath to the other side. Cut one side, flip the part, and re-register to a hole the first side already cut: those reference walls show up white on the controller and pick like real cut edges, so the flipped setup lands dead-on. Add perimeter holds (tab bridges that keep the piece fixed for the flip) and feature exclusions (byte-identical partial programs that register against their siblings), and both sides run off one setup — no lost index. The combined Cut view shows the finished part in one solid, through-holes open from both faces.

SEE IT FIRST

Cut it on screen
before you cut it for real.

Every program previews in three synced 3D views — your model, the toolpath, and a cut-result removal simulation that carves the program out of the stock. Spin the post-cut part around and confirm the G-code makes exactly what you drew — before a single chip flies. Because Studio runs the program through the controller's own parser, what you preview is what the machine will receive.

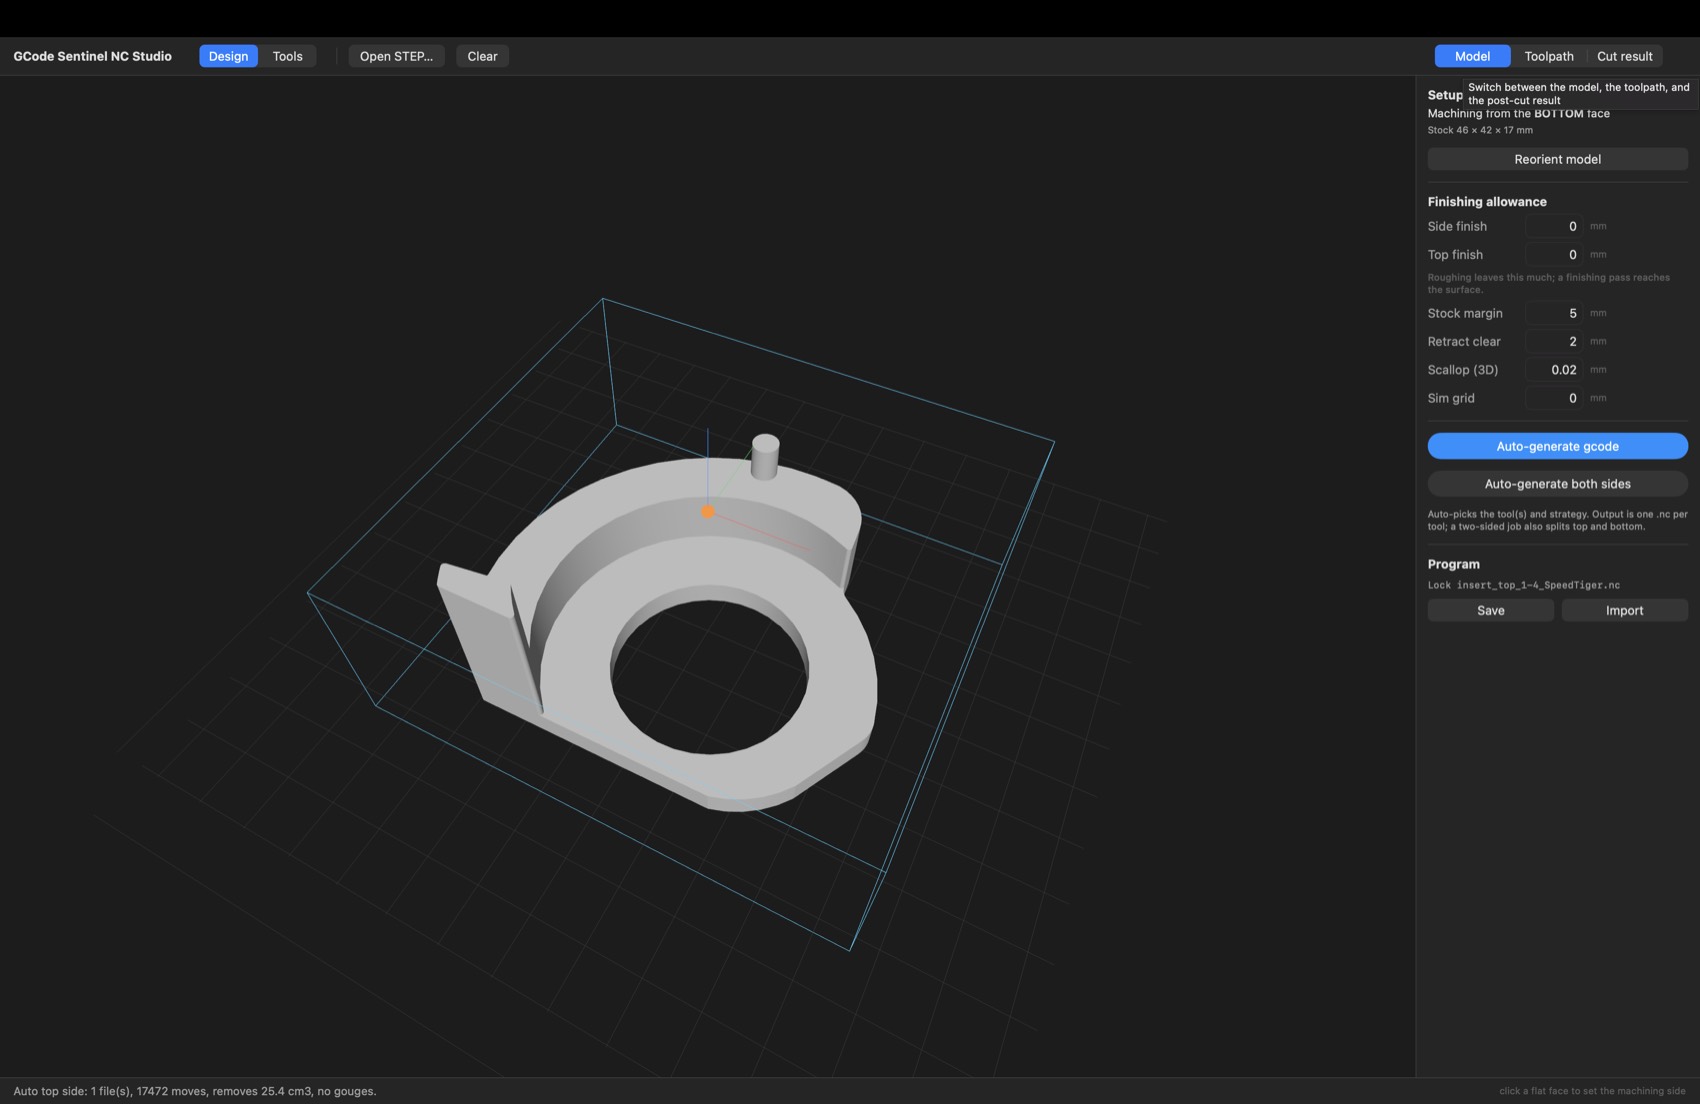
Model
NC Studio Model view: the .STEP part sitting inside its stock blank
Your part inside the stock blank — the starting point.
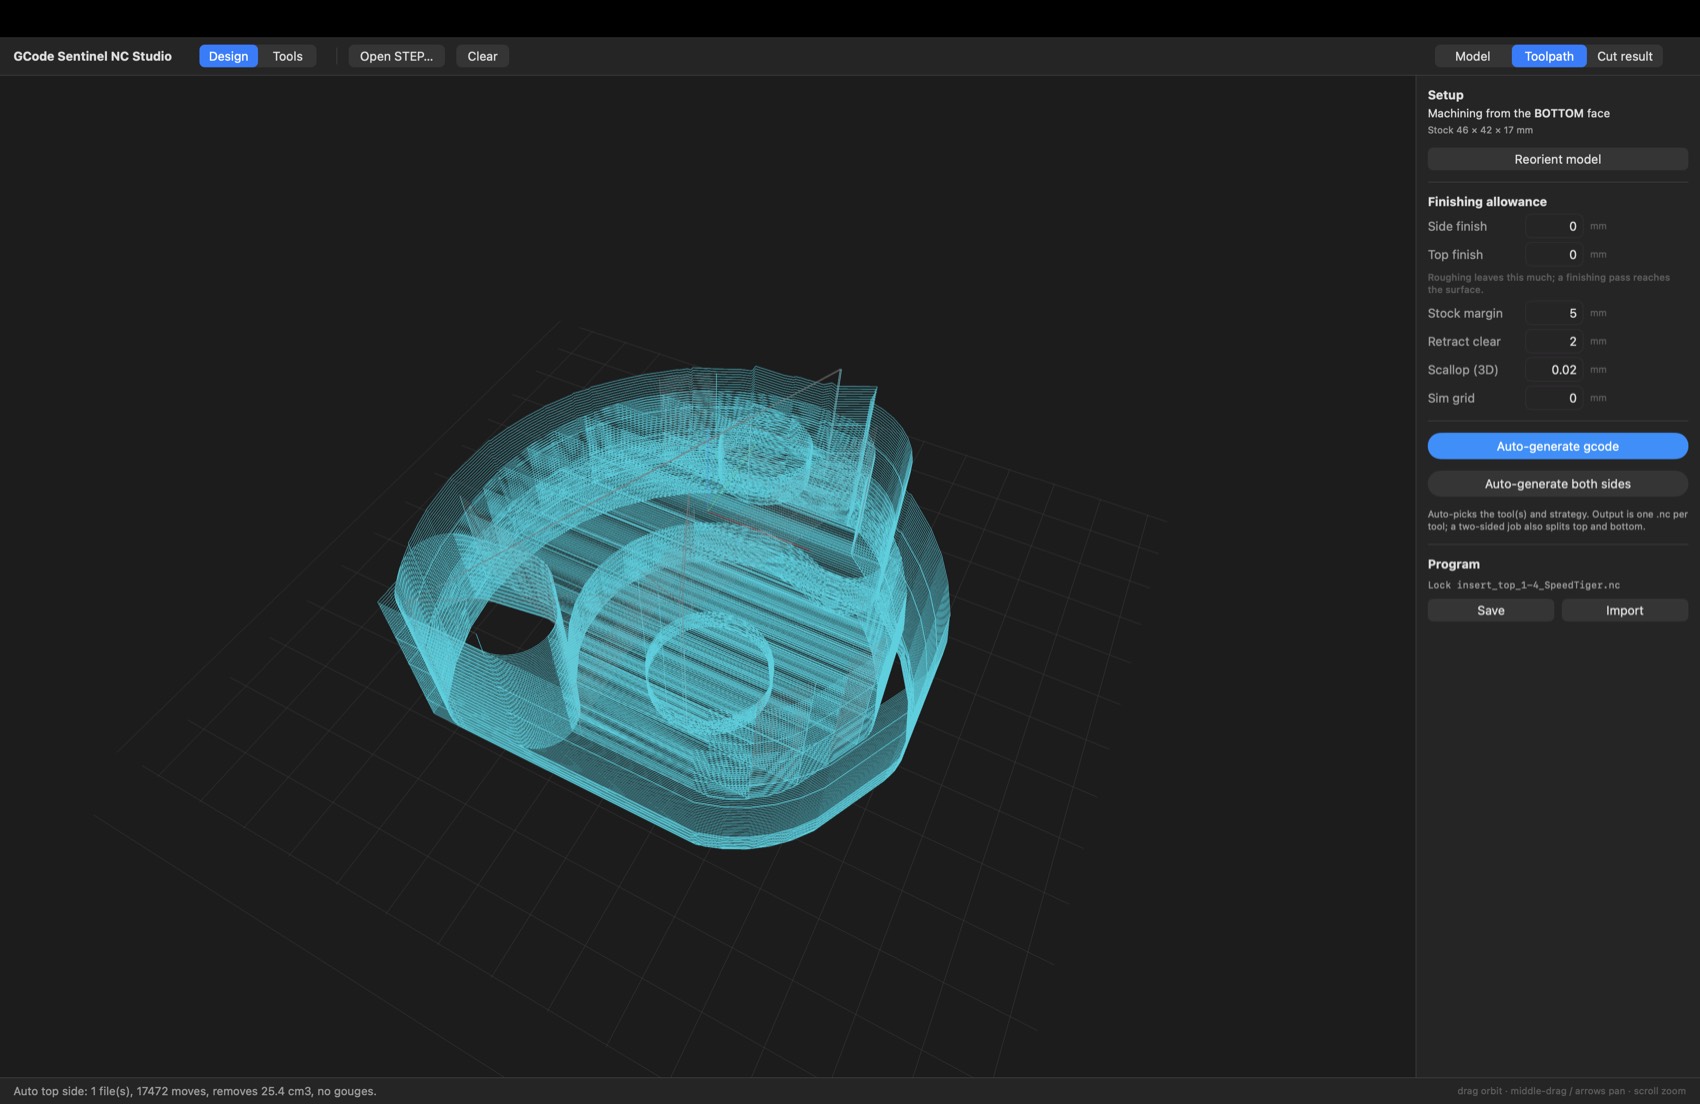
Toolpath
NC Studio Toolpath view: every move the generated program will make, drawn in 3D
Every move the generated program will make.
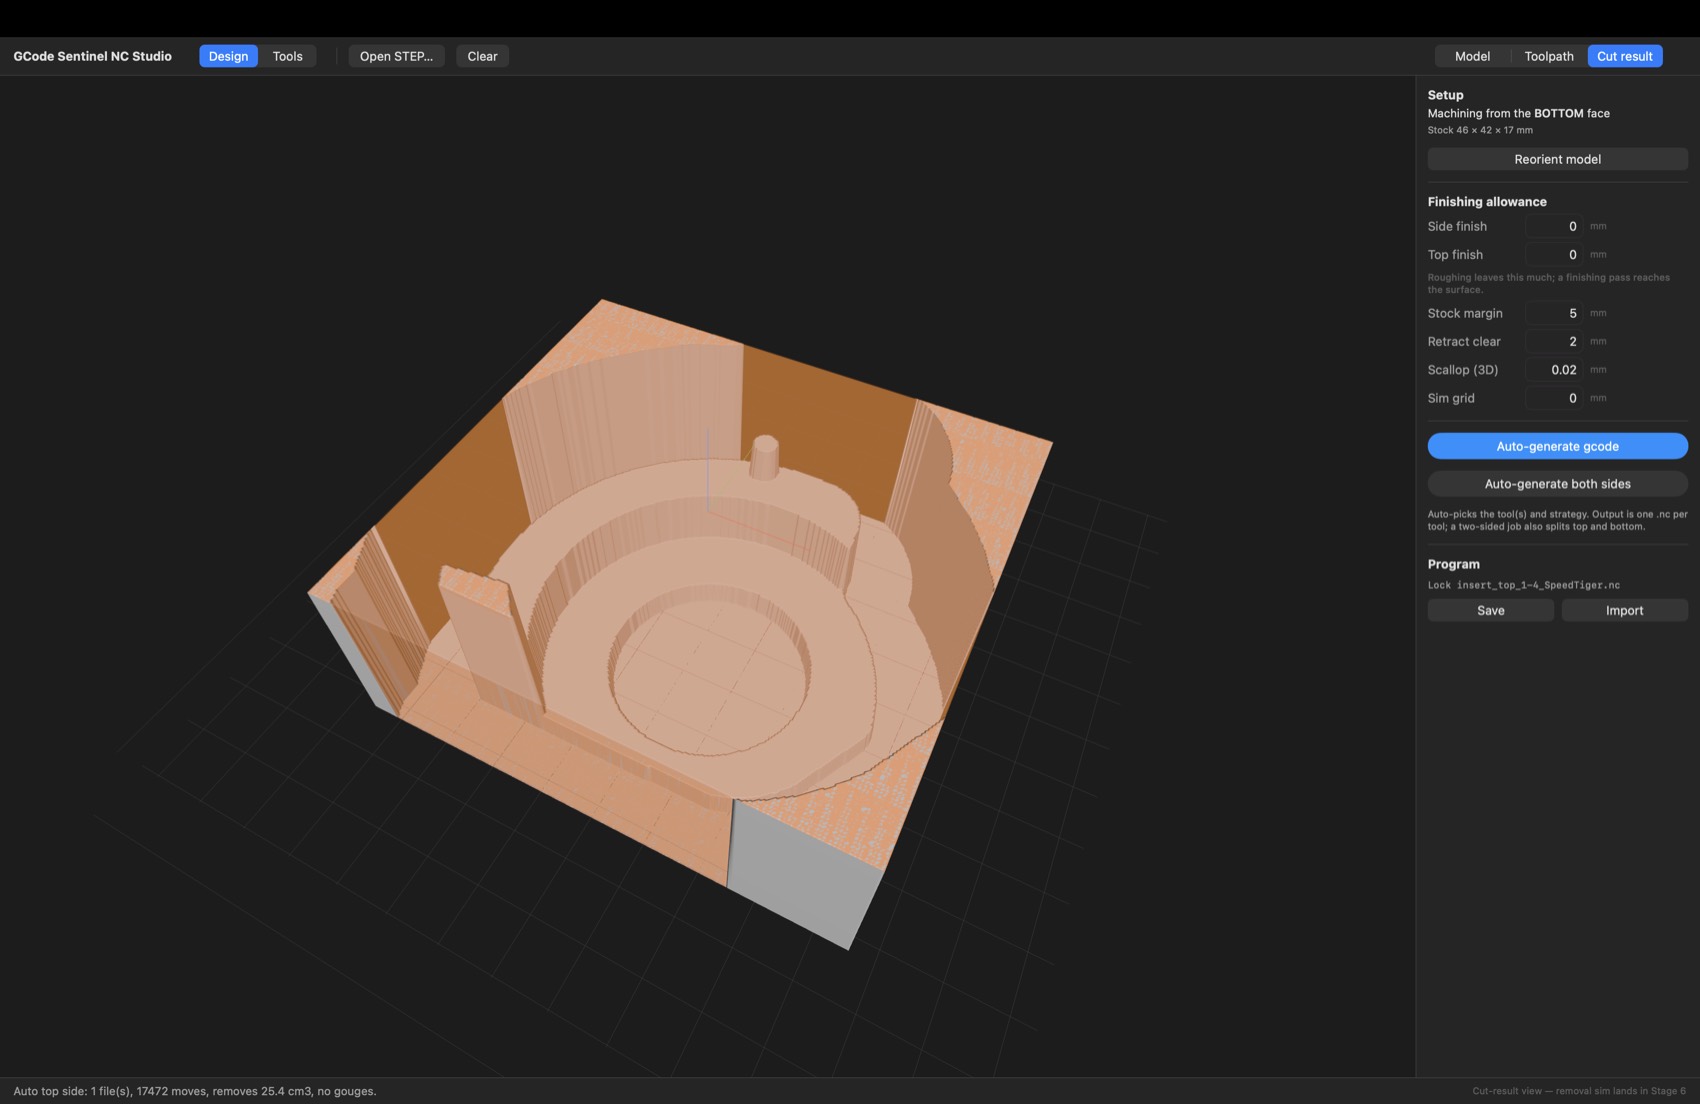
Cut result
NC Studio Cut result view: the removal simulation showing the finished part carved out of the stock
The removal sim — what the G-code actually leaves behind.
PCB MILLING

From Gerber
to copper.

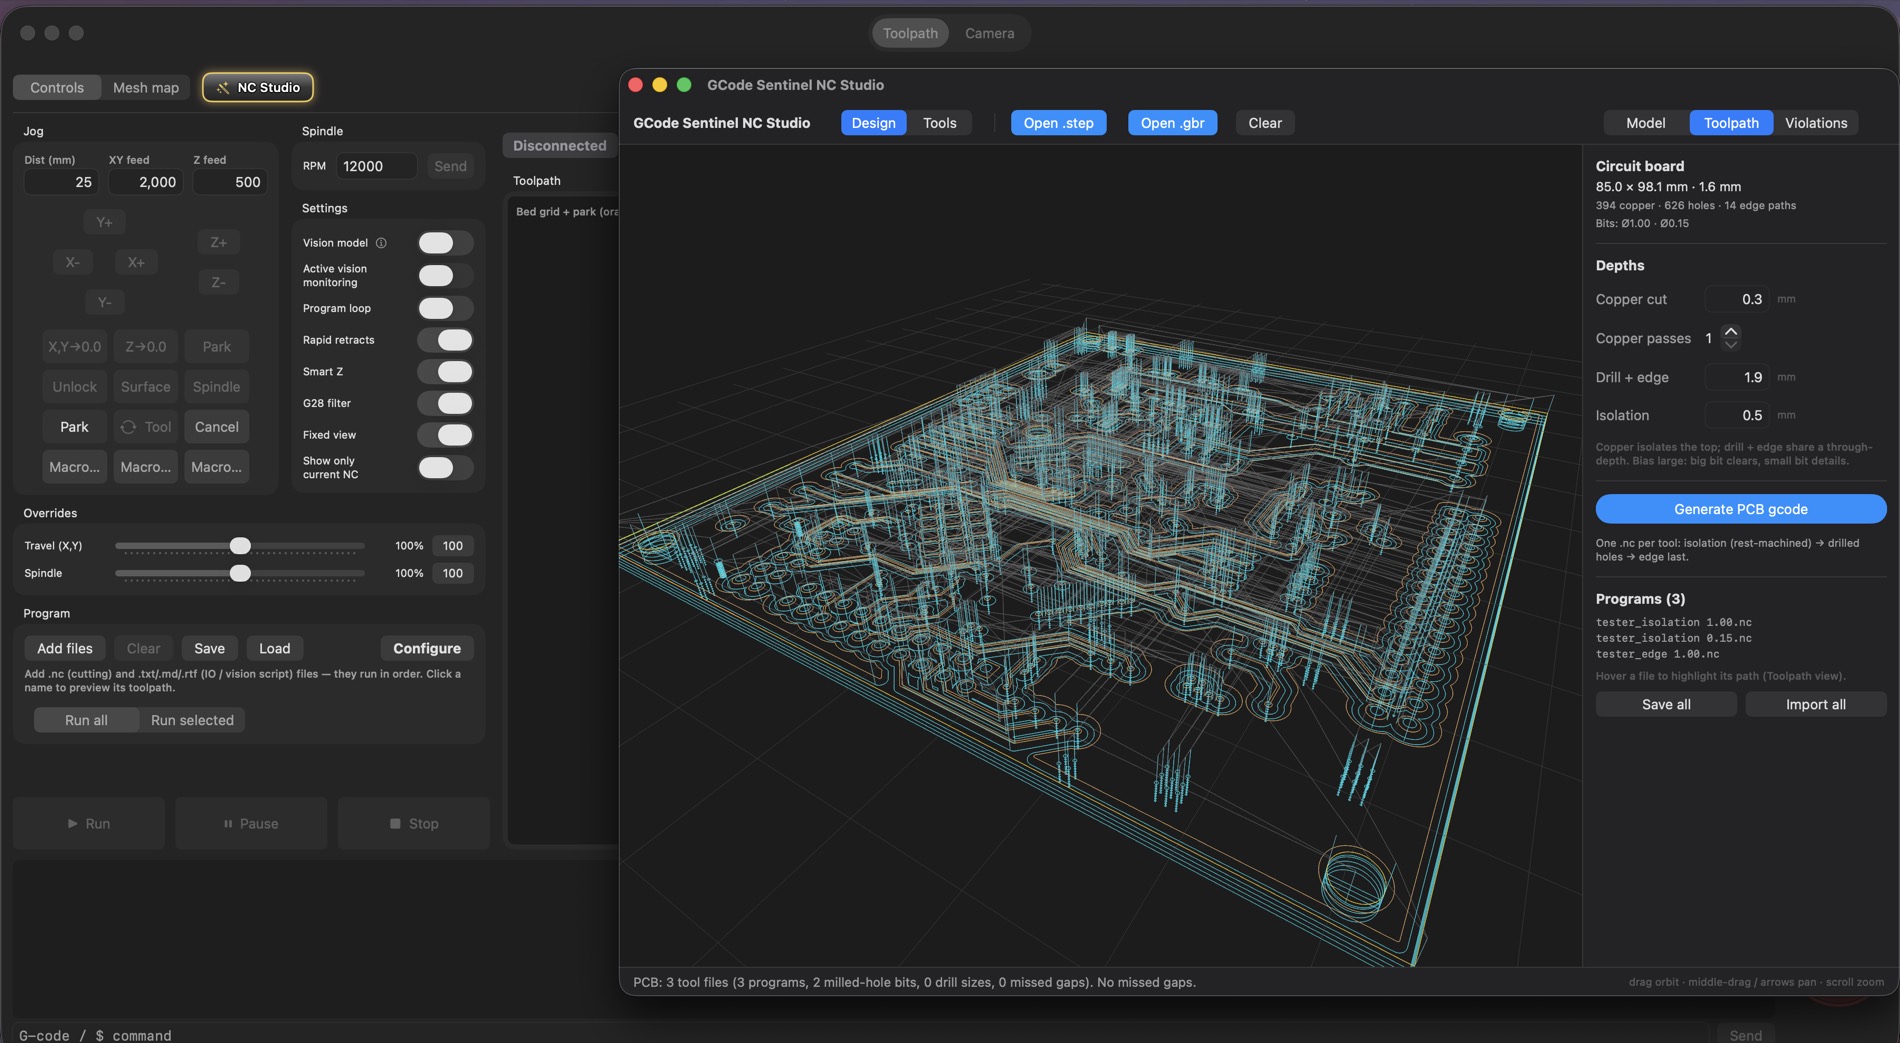
Point Open PCB at your board's Gerber export — copper, edge and drill files — set the copper-cut, isolation, and drill-and-edge depths, and Generate PCB gcode builds the whole job — one .nc per tool: isolation first (rest-machined), then the drilled holes, then the board edge last. Mill your own boards at the bench instead of sending copper out to a fab.

NC Studio — PCB milling: isolation · drilled holes · board edge, from a Gerber SIM
GCode Sentinel NC Studio PCB milling view: a circuit board's copper isolation, holes and edge toolpaths generated from a Gerber, with a Violations tab and a per-tool program list

Gerber in, board out

Open your board's Gerber folder and Studio reads the copper, holes, and edge for you. Set the depths, hit Generate PCB gcode, and it writes one .nc per tool in cut order — isolation, drill, then the board edge last.

One kit, easy tool changes

Isolation is rest-machined across your bits — a big bit clears copper fast, a fine bit details only what it couldn't reach. The bits come from the same tool library as your 3-axis jobs, so each tool's pass drops in as a guided tool-change step.

Violations catch shorts

A Violations view flags any gap the chosen bit is too fat to isolate — the copper bridges that would short your boardbefore you cut. It reads out the missed gaps, so you fix the bit or the spacing first, not after you've scrapped a board.

MESH IMPORT — NEW IN 1.0.3

STL in.
Solid out.

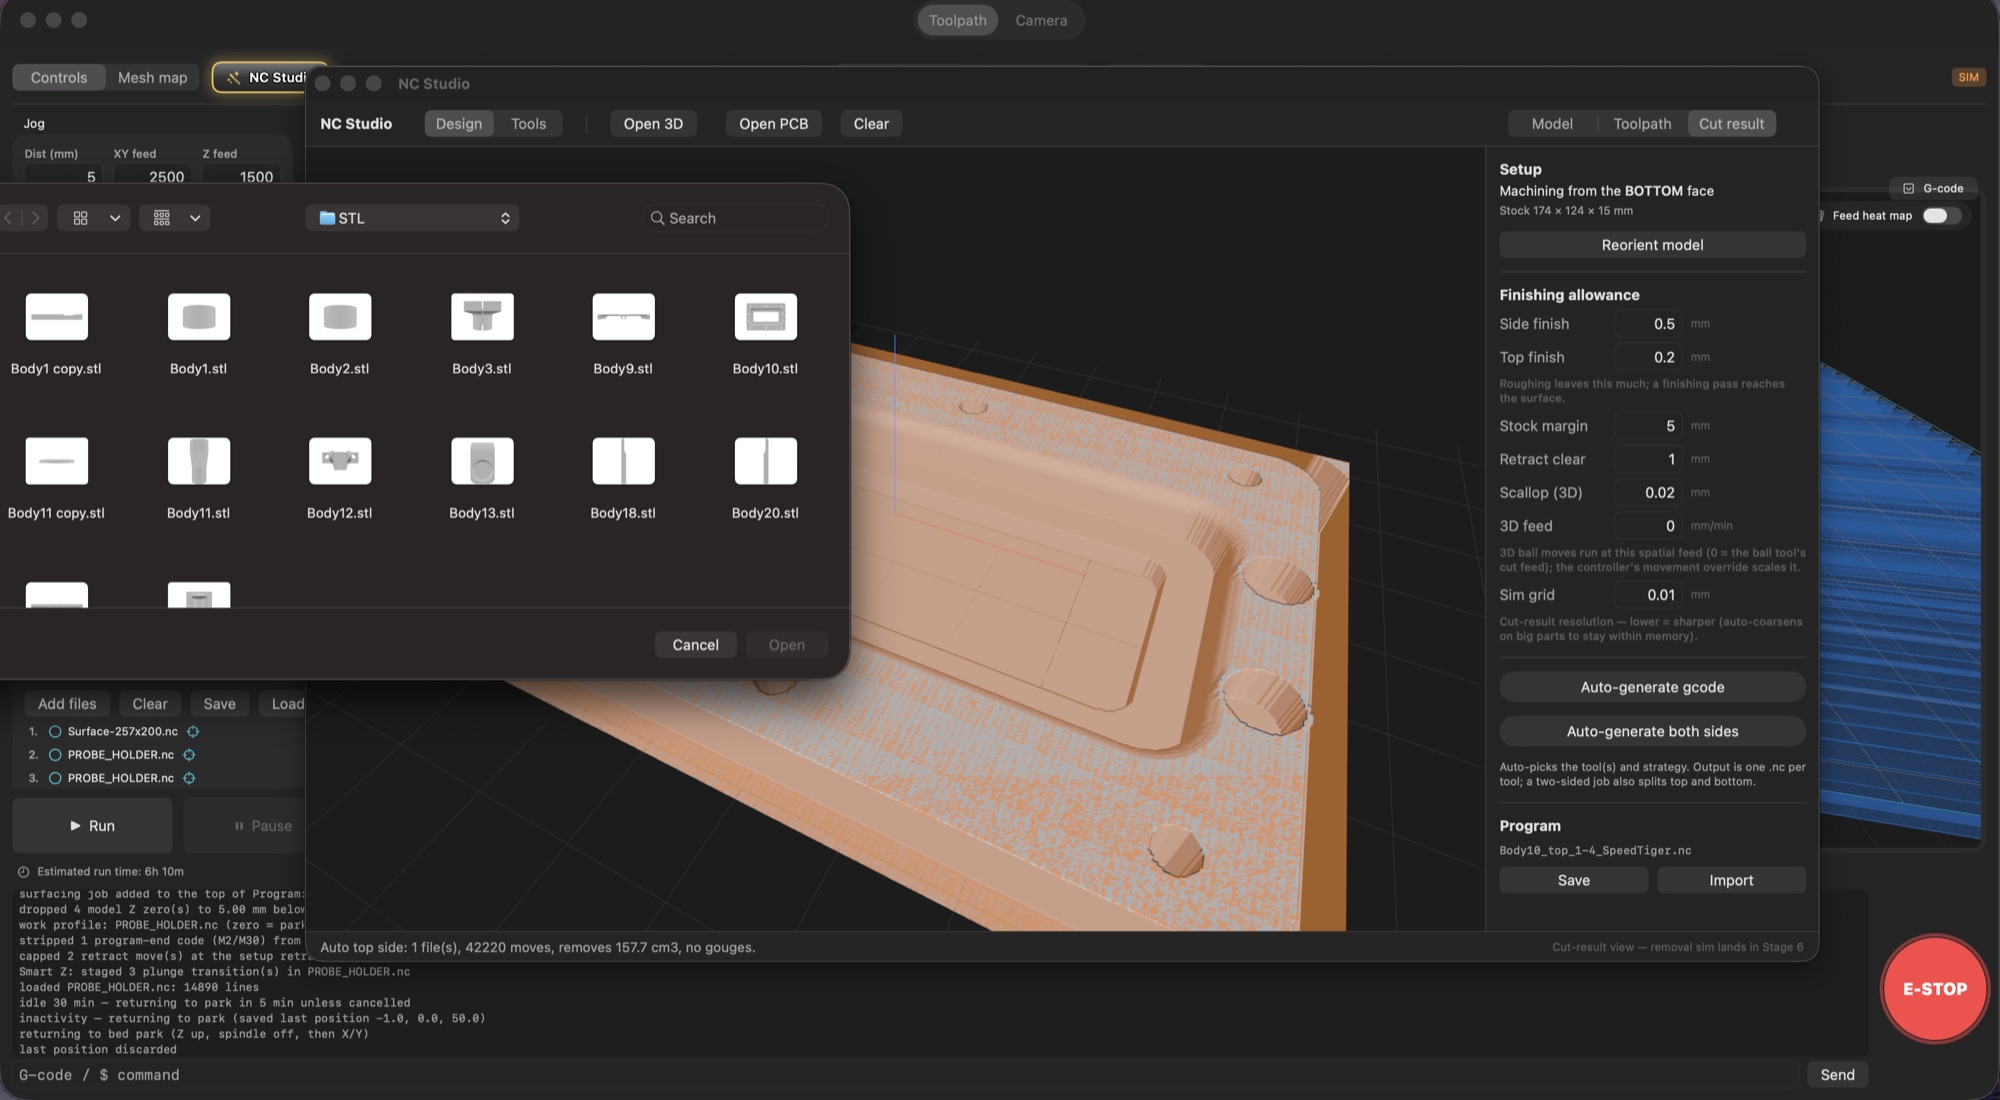
Open 3D now takes STL meshes alongside STEP. Pick a .stl — from any CAD export, a 3D scan, or a print file — and NC Studio converts it to a machinable solid automatically on open: duplicate vertices weld, glued bodies separate cleanly, coplanar facets merge back into flat faces, and the result flows straight into the same auto-CAM as a native STEP. No settings, no second tool, no re-export from CAD.

NC Studio — opening an STL from the controller: pick the mesh, get the cut simulation SIM
NC Studio's Open 3D dialog listing STL body files, in front of a finished cut-result simulation of a converted mesh part, launched on top of the GCode Sentinel controller

Any mesh source

Fusion, FreeCAD, Blender, a scanner, a print file you downloaded — if it exports an .stl, it opens. Binary and ASCII both read; units are taken as millimetres.

Conversion is invisible

The mesh becomes a proper solid in a fraction of a second — welded, oriented outward, flats recovered — then rides the exact STEP pipeline: auto-setup, face picking, rough + finish, removal sim, hand-off.

Open meshes get flagged

A mesh that isn't a closed volume still imports, but the status bar says so plainly — you know the CAM may not machine it correctly before you generate, not after.

NC Studio ships in the macOS beta — one signed & notarized DMG installs it alongside the GCode Sentinel controller. It is not yet validated on a real machine — first cuts must be air- or foam-checked before any material. Windows and Linux builds are in development; drop your email on the Downloads page and we’ll tell you the day they land.